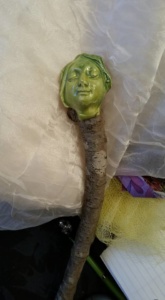
Making the Face
Make your own mold from two-part mold material:
You can get quick, two-part mold-making materials at Staples or at Michael’s
or google mold-making and see what comes up.
- Go to a thrift store and find an inexpensive doll or three and use their face for a mold.
Or, if you prefer, buy a mold. Google “face push molds” 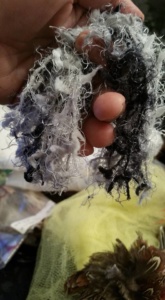
and choose from among what you find. Etsy shops sell both molds (which they have made by using doll faces or by molding a face they sculpted themselves) and completed faces (usually made from polymer clay).
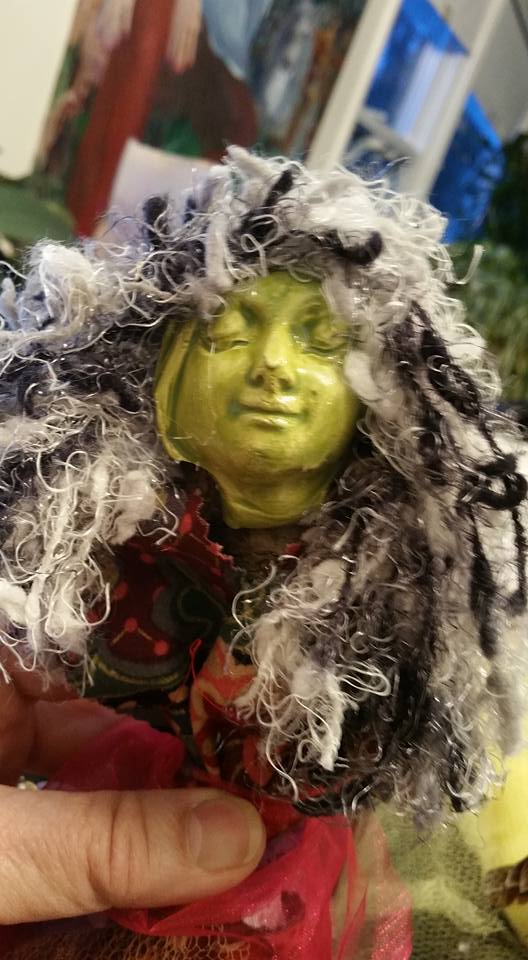
Face material. I make my faces from clay finish with stain or glaze. You can also use Air Dry Clay, any polymer clay (i.e., Sculpy et al – which need to be “cooked” and not in your home stove please), paper mache, and/or two part resin (which hardens without cooking. I use Apoxie Sculpt from Amazon: JoAnn’s Crafts, Michaels and googling on-line sources are good for any of these.
You stretch your imagination and make a paper/cardboard face, a shell face, use a thrift store doll face (or even the whole doll – there are no rules here!), use a wooden spoon for a face – the only limit to what you use for the Spirit Doll’s face is your imagination. Streeeetch it!
Making the Body
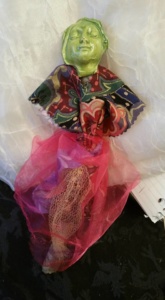
Just as for the face, there is no limit to what you can use for the body. You can use found branches or driftwood to make a doll commemorating a special place, you can also use metal (new or used), wire, cloth, shells – anything that gives you the platform on which to build your doll.
Spend an afternoon with an allotted splurge of $20 (or more or less) wandering around a thrift store, a craft store, a sewing store and/or a Dollar store to see what catches your eye.
Explore small bins of pins and packages of buttons. Allow yourself hours of uninterrupted browsing (i.e., go alone) for bent wire, and fabulous feathers. Rummage through your jewelry box (a treasure trove of goodies!), tool box, closet and/or junk drawer and see what calls you. The oddest things can make the most wondrous creations!
Pay attention to texture: dried flowers, shells, pieces of wood. Add materials with different colors and feel, ribbons, rough cording, lengths of beads, embroidery floss, buttons, old jewelry.
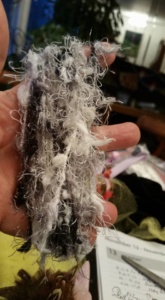
Think about hair: raw wool, nubby yarn, wrinkled paper packaging, straw, reeds, feathers, Spanish Moss
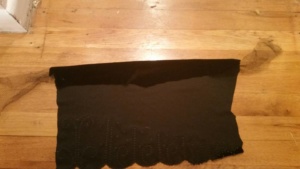
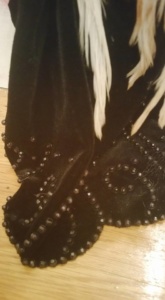
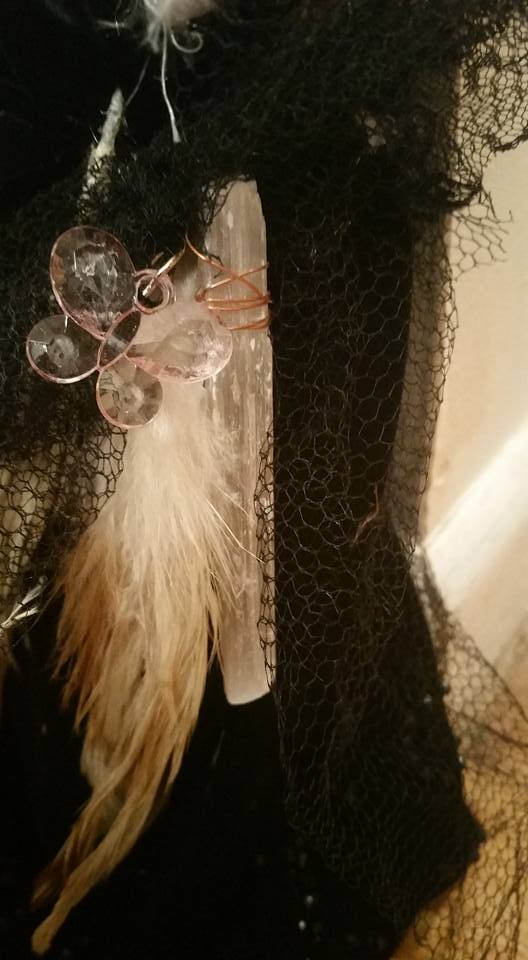
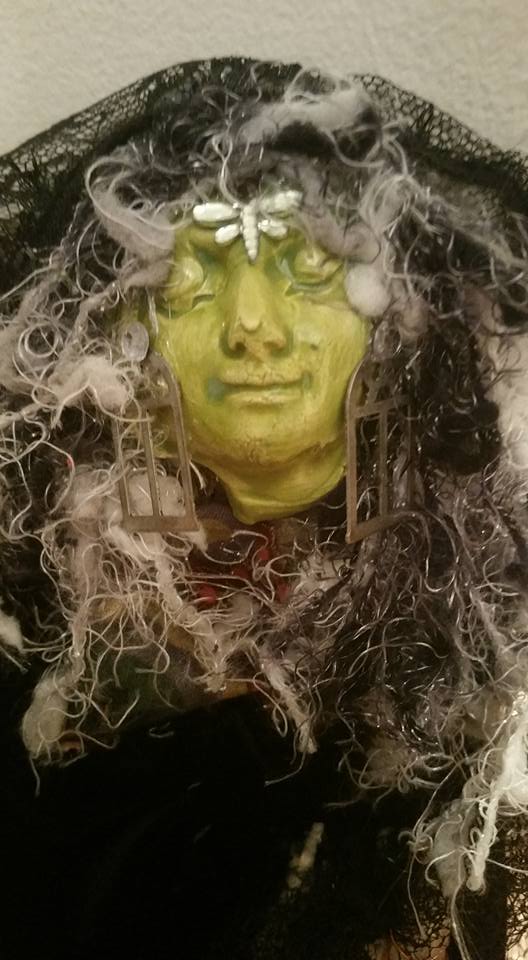
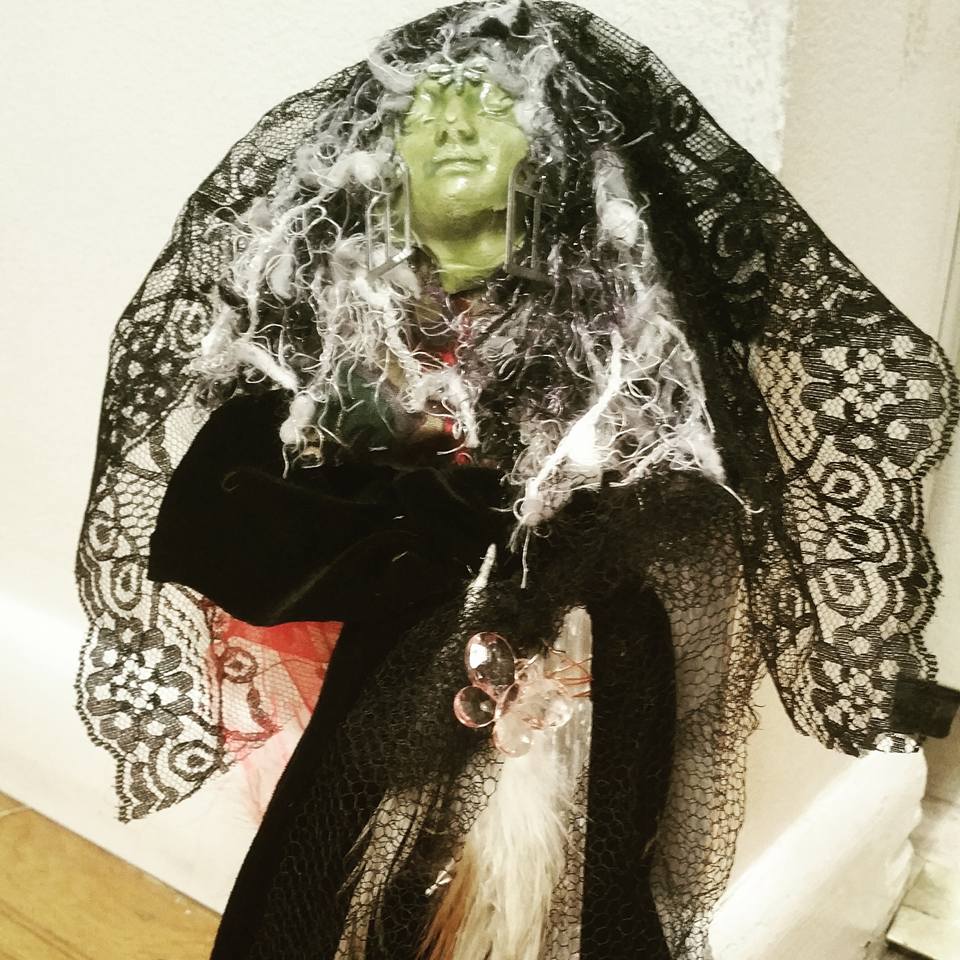
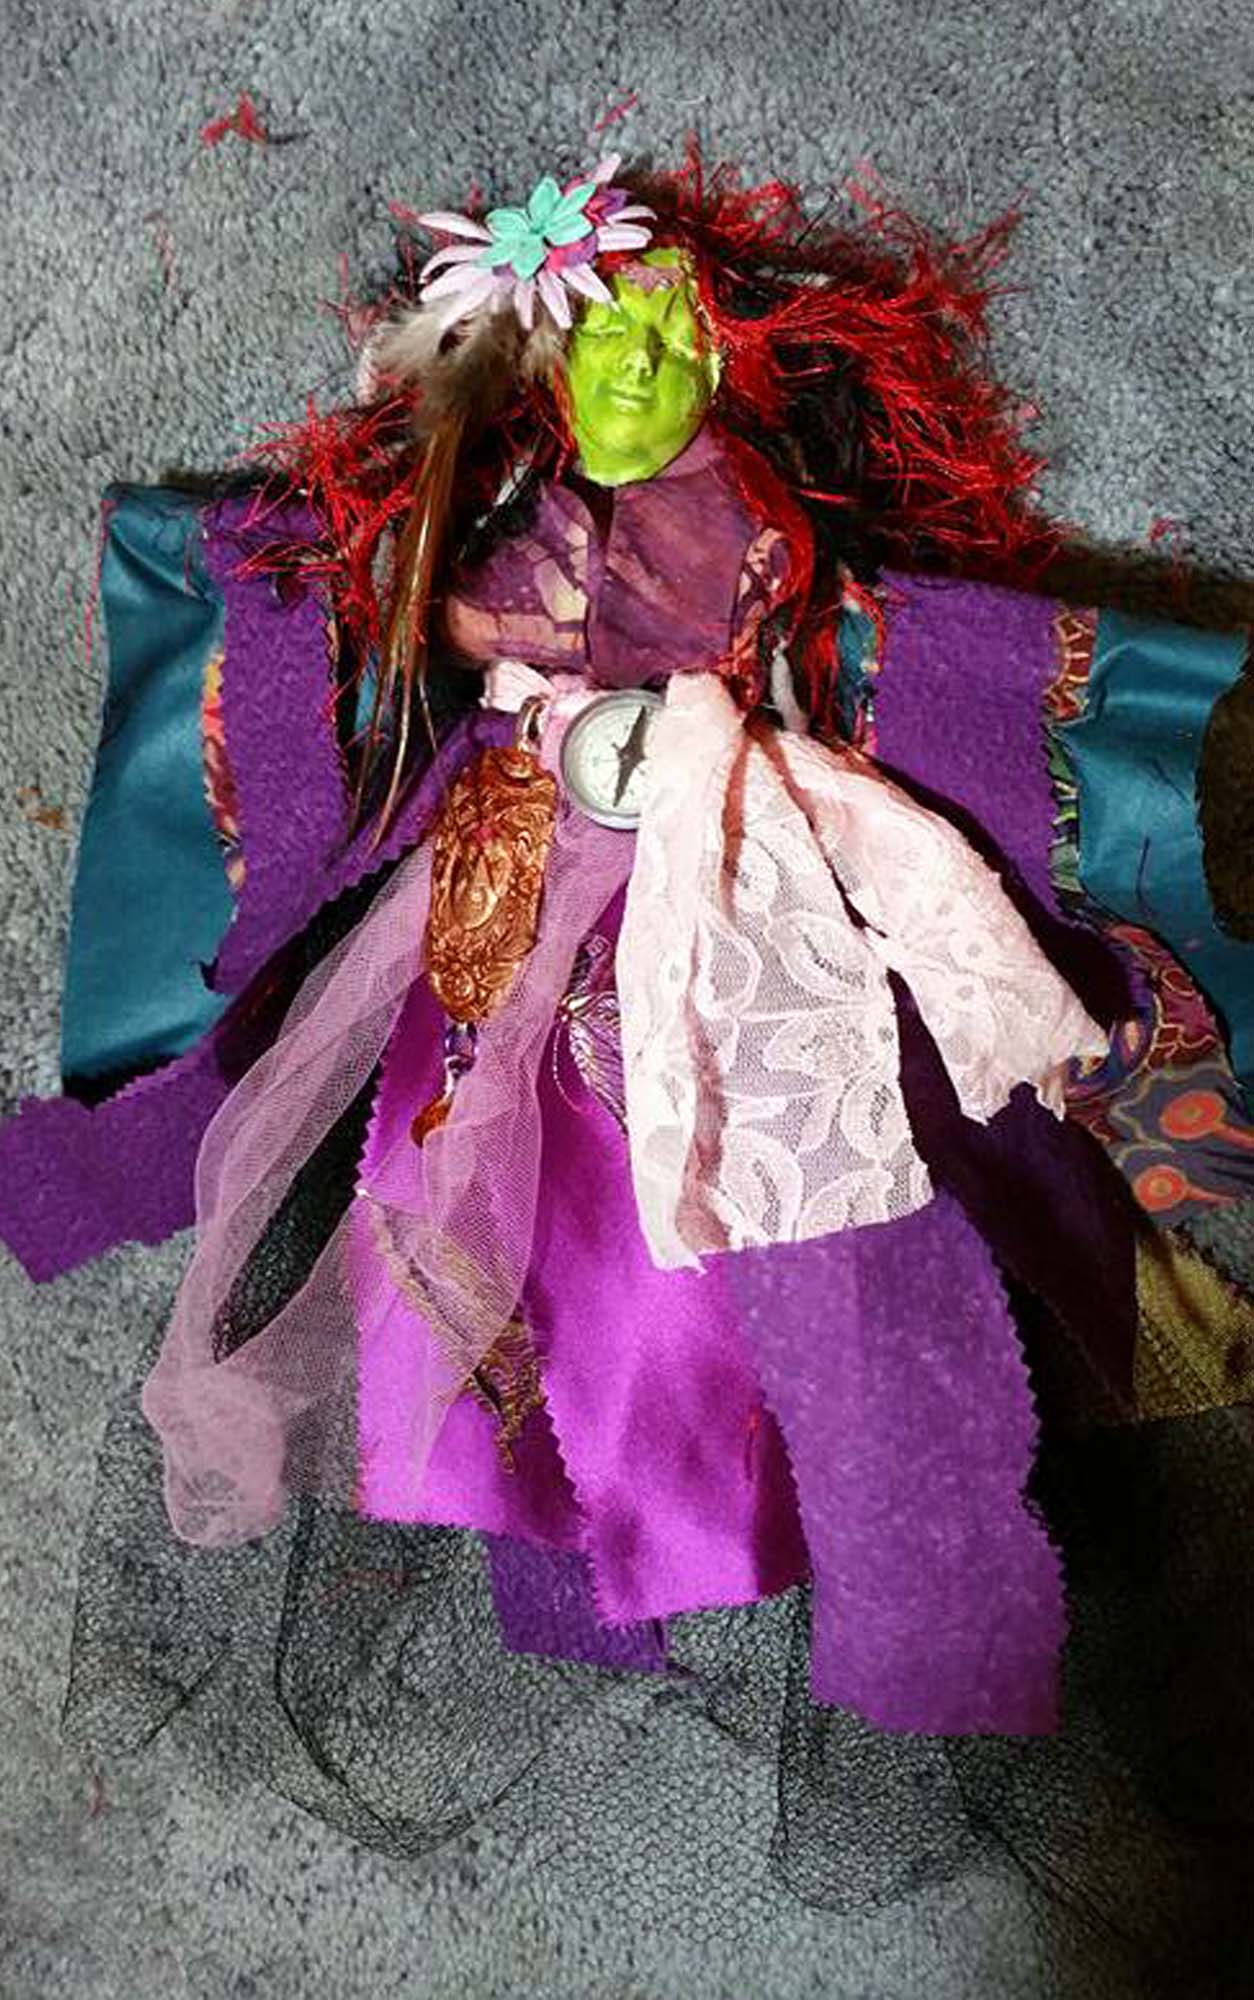
There is no such thing as “wrong” here.
Dive in.
Decisions are made in a person’s life by small moments
of knowing, each moment opening until,
like pieces of a quilt, one day everything comes together
in a precise, clear knowing.
Linda Hogan, Solar Storms



2 Comments
Your comment is awaiting moderation.
sorry – for the delayed response! I don’t use precious metal clay – you’re right, way to expensive. I use ceramic clay. I have a kiln (still) that will do small pieces, and faces work just fine.
Preplanning – depednds on what you have around the house. Buttons, beads, pins, ephemera, material, yarn – I have all of that, plus leftover kits from workshops I’ve taught. Other than taking yourself out on an artist’s date if you don’t have all that, not much needed in preplanning, but I’ve been making them for years, so I’m not a good example.
I will say that on a retreat I lead, one of the activities was to go out and find stuff to make a spirit doll to remember the retreat. I brought along my goodies and with 2 hours of scouting and 3 hours of making we all had fun dolls. I’ve also done it in an afternoon with my art friends, but the one whose house we were out collects all kinds of creative materials so that wasn’t hard.
It seems you need a ton of pre-planning to make one of these dolls.
Isn’t it true that Precious Metal Clay needs a special kiln to prepare it in? Also, the clay is SO expensive, only dedicated clay artists can make these.
Polymer clay seems to be a far better solution for those of us who might like to make a single doll. I have shown how you actually CAN use your own oven to create polymer clay shapes, even though I have a dedicated toaster oven for my own poly clay making.
I like the way you used a stick to hold the doll up. It’s a genuine beauty and the hair is what most appealed to me. Of course, I liked how you dressed her, too. Thanks for the tutorial. It’s one I will certainly consider if I ever choose to make one of these dolls.
Wow! A lot goes into these. Really cool! 🙂